Tools needed:
3 Flathead screwdrivers, one short & fat (6-8 inch shaft), the other long & skinny (8-12 inch shaft), one tiny (e.g. for eyeglass repair)
1 Phillips-head screwdriver
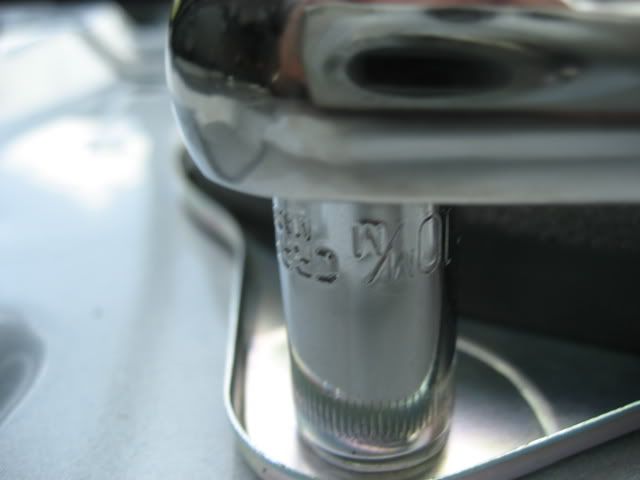
10mm wrench (socket wrench is ideal)
Power drill with 1/8" drill bit (not required, but really helps)
Procedure:
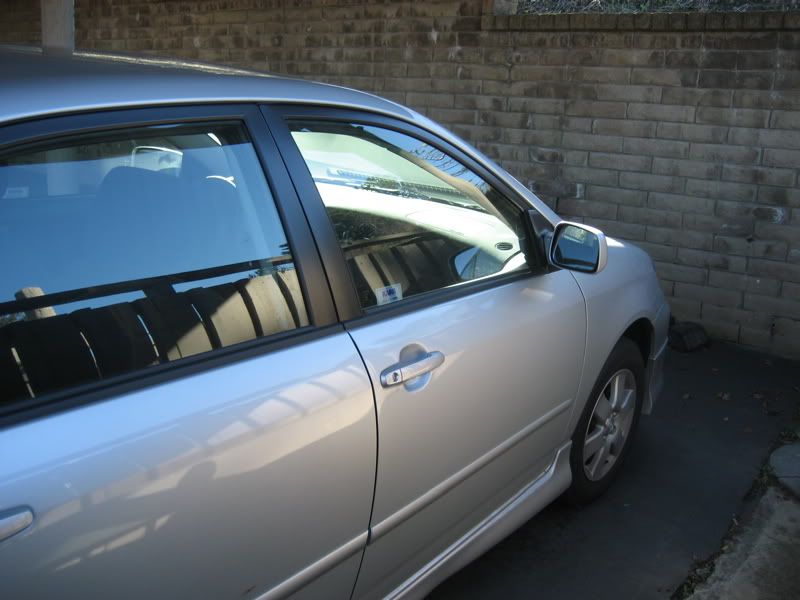
1. Open up one of the front side doors (I started on the passenger side):
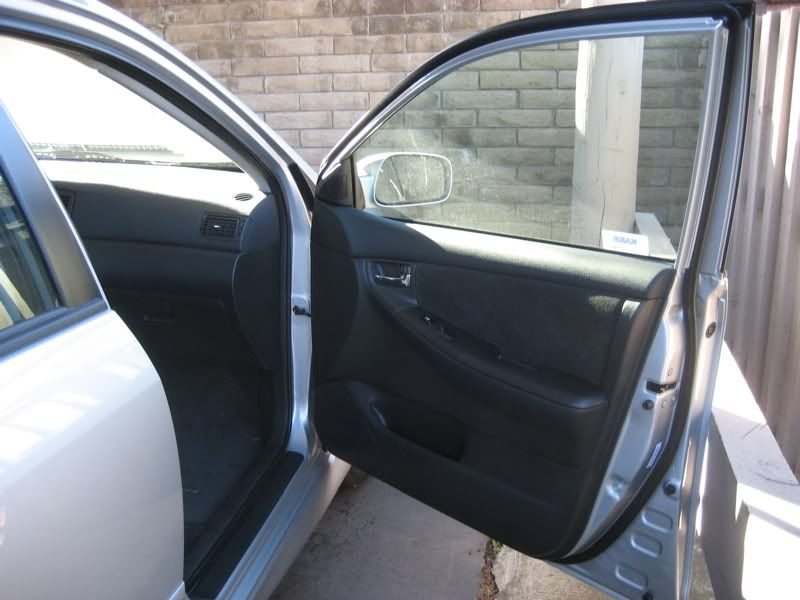
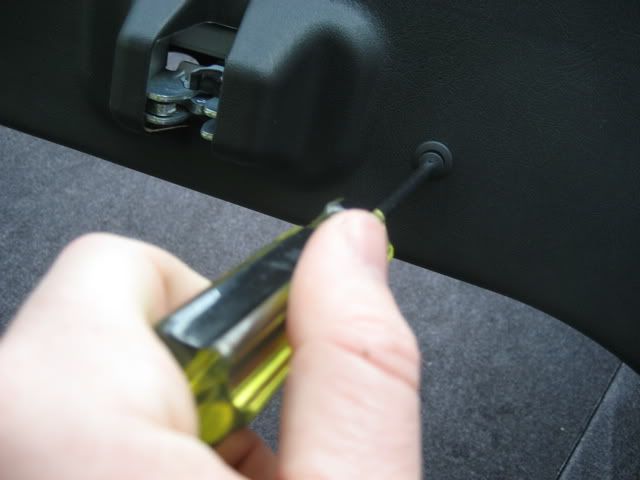
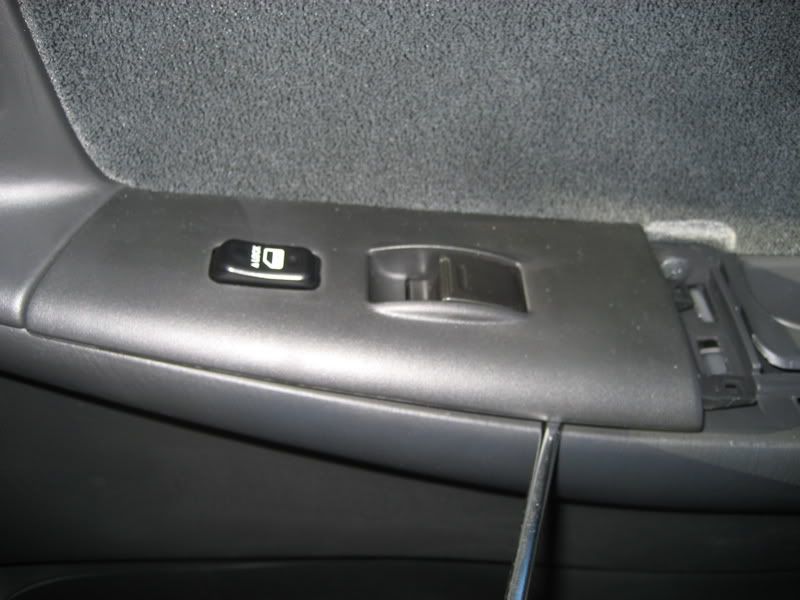
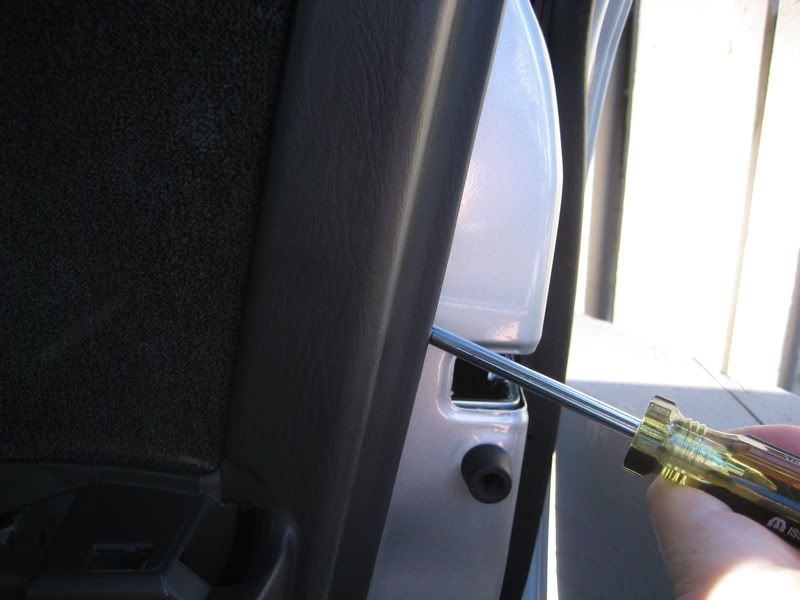
Locate the little square cover in the middle of the door handle:
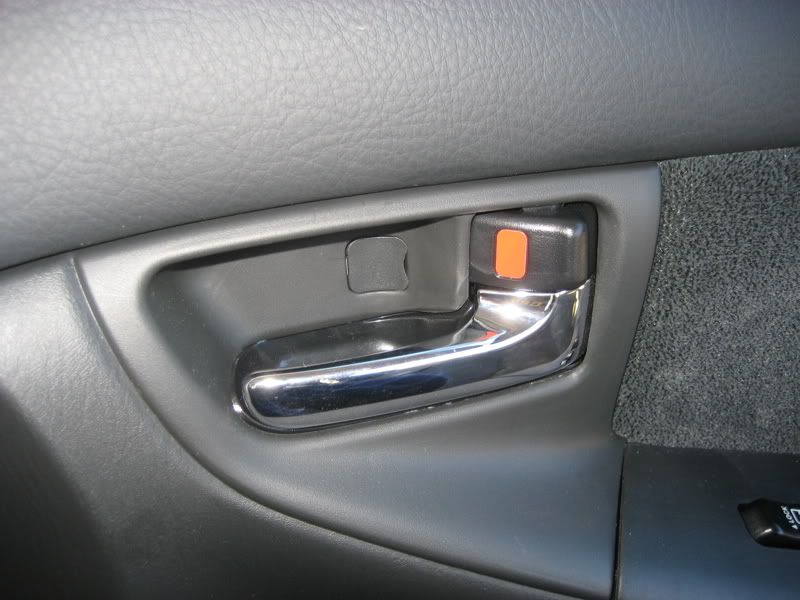
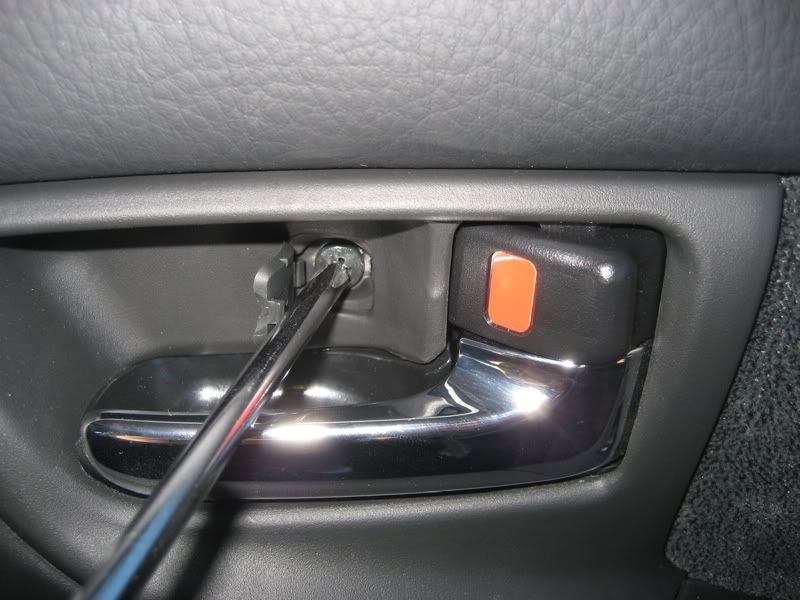
This is just a flap that covers one of the retaining screws. Pry up the side closest to the lock (with the notch cut out for this purpose) using the tiny flathead (I didn't actually have such a tool, so I just carefully used the point of a knife... but a tiny flathead would work very nicely). Push it out of your way (but don't remove it... the piece is permanently attached to the interior on one side), and use your phillips-head screwdriver to remove the retaining screw.
2. Using a flathead screwdriver, pry up around the armrest:
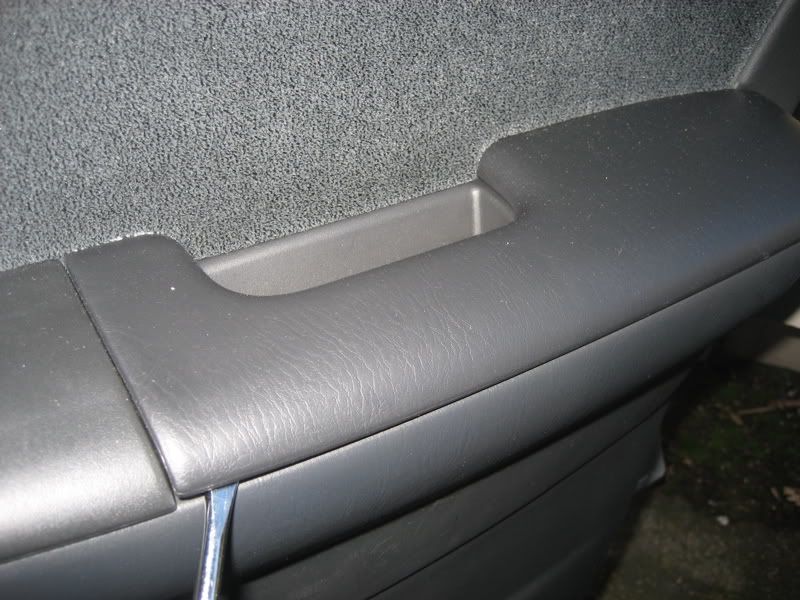
and remove:
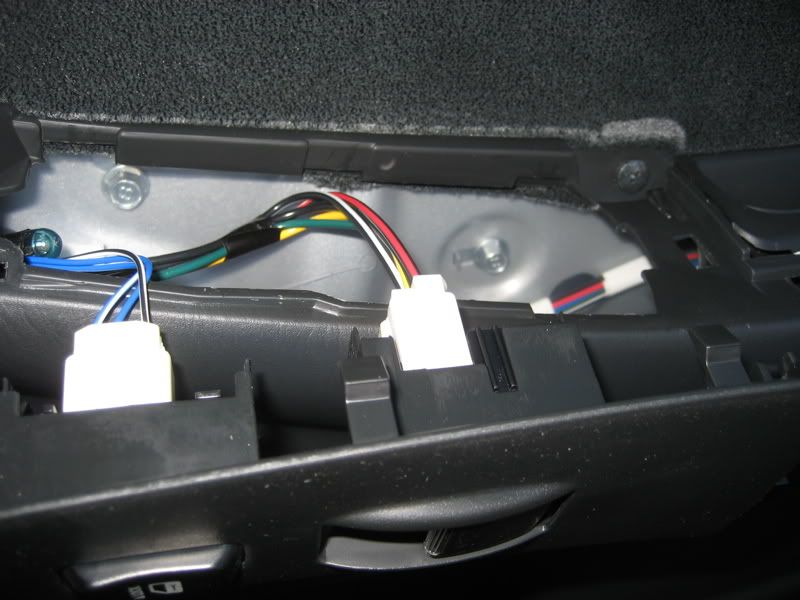
Continue prying around the door lock/window control panel:
Disconnect the cables, and remove.
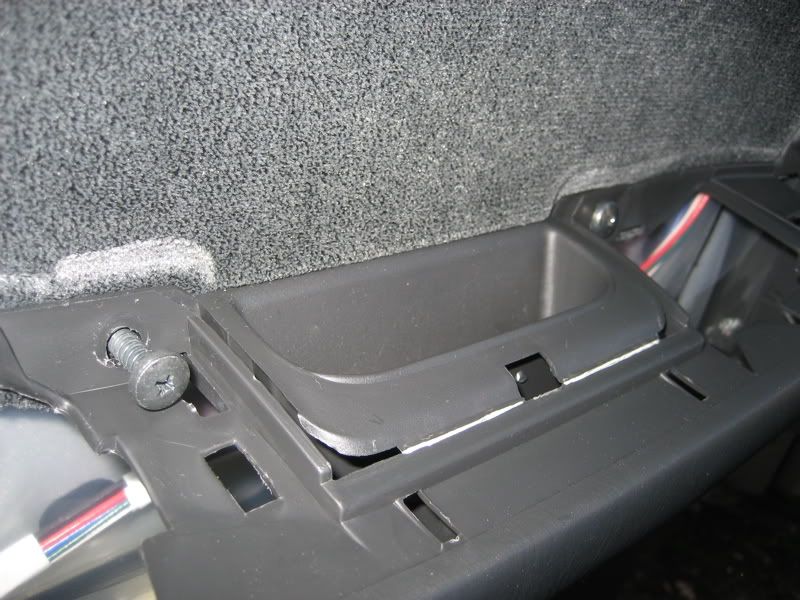
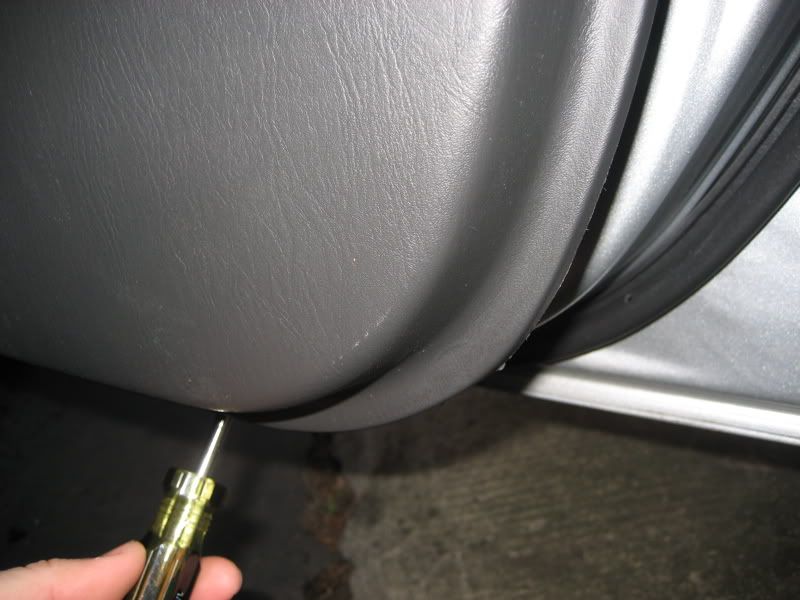
Finally, using the phillips-head screwdriver, remove the two retaining screws around the armrest.
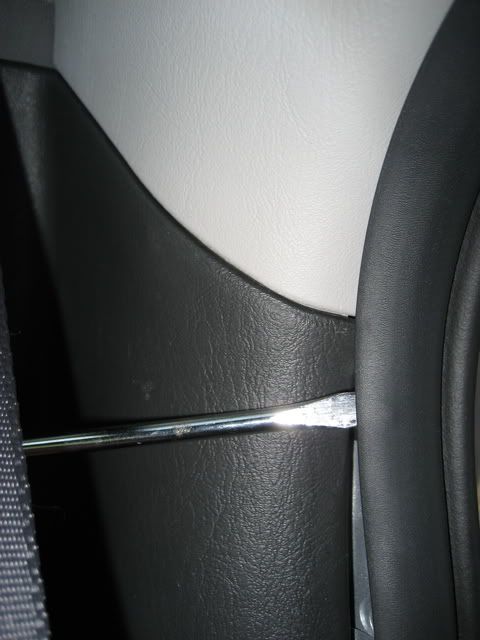
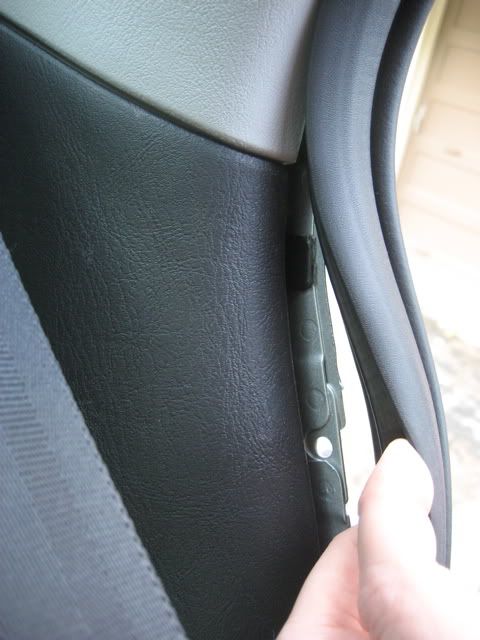
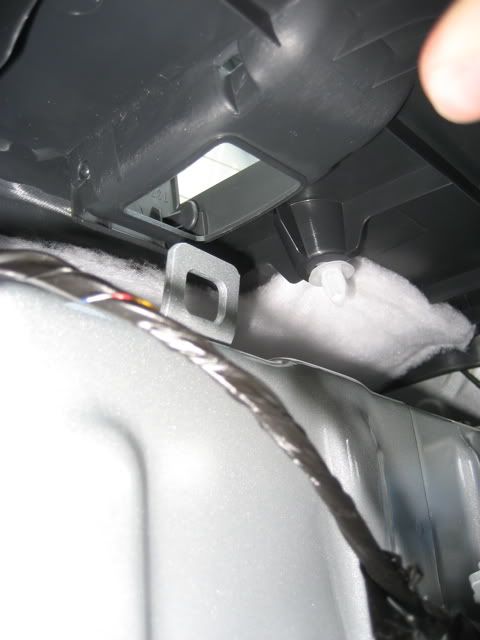
3. Now comes the tricky part. Take a deep breath! Using firm pressure (and not too much muscle), carefully pry up the cover on the tweeter (behind the side-view mirror) with your skinny flathead:
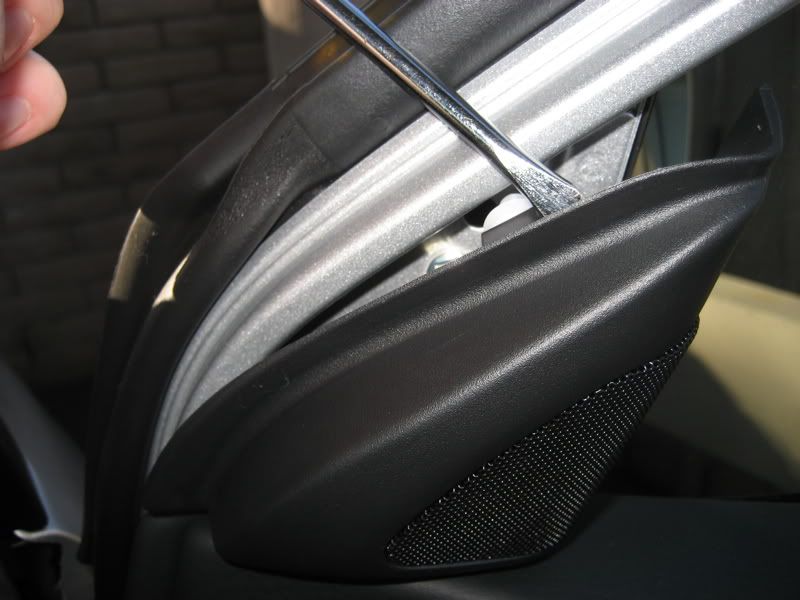
and remove.
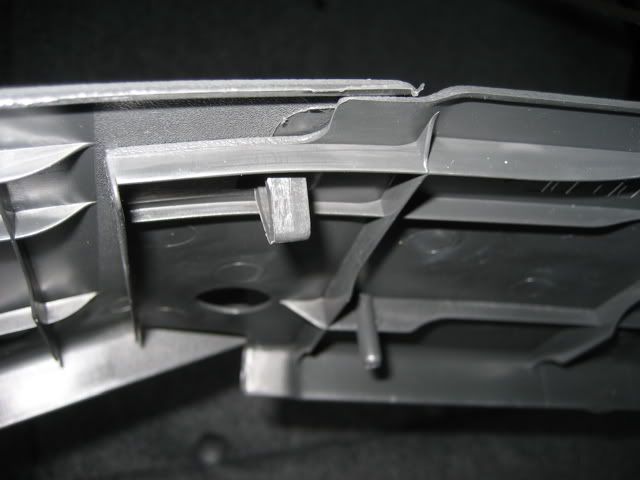
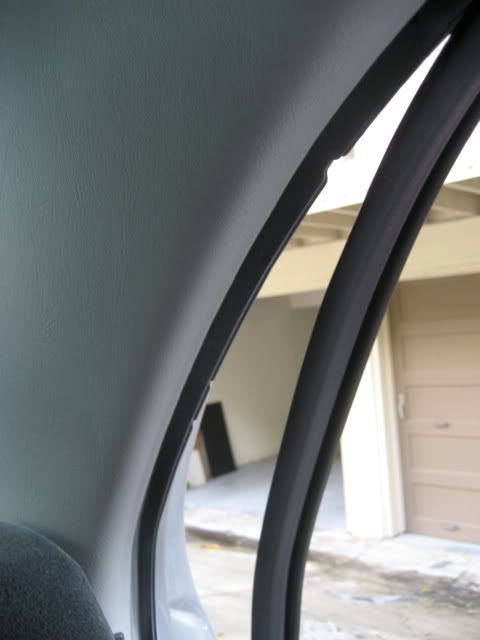
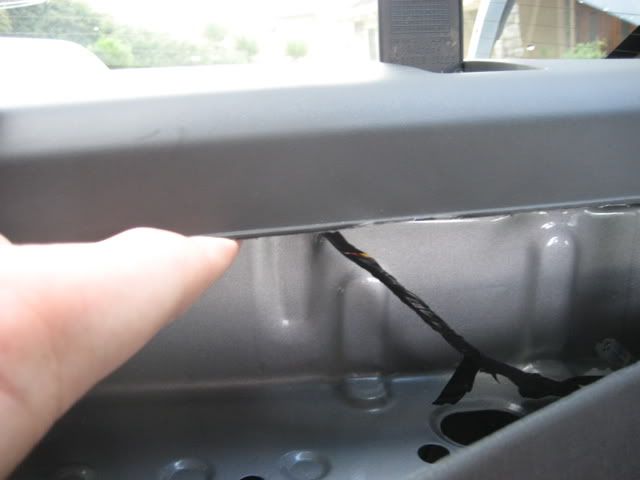
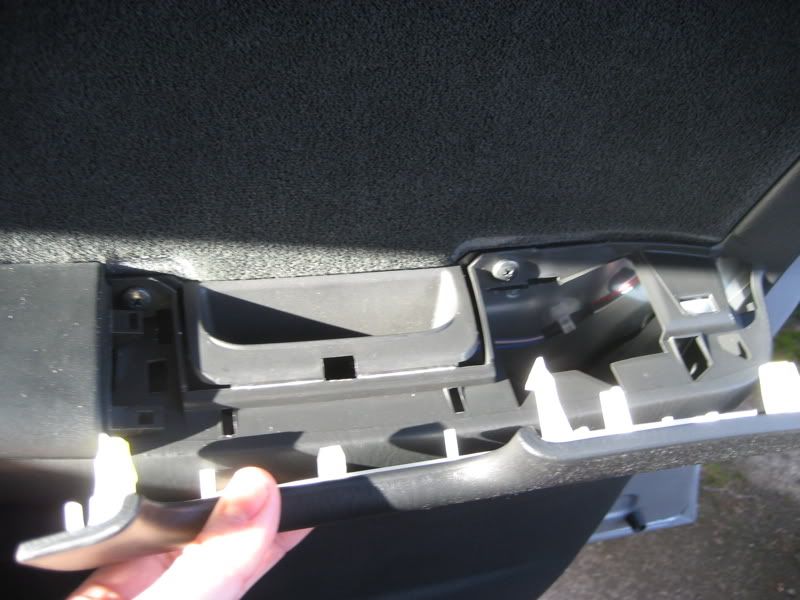
Then, use the same maneuver around the perimeter of the door panel.
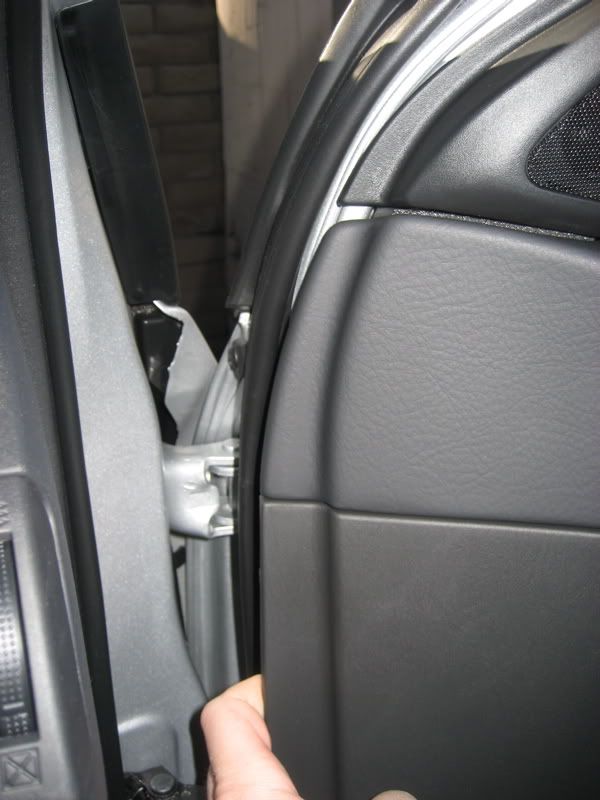

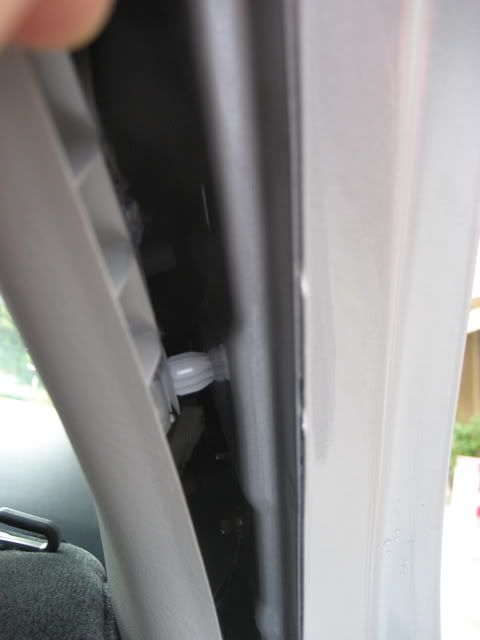
Once all 8 of the clips have been popped out, lift the panel straight up (along the window), and it should come free. Set it aside.
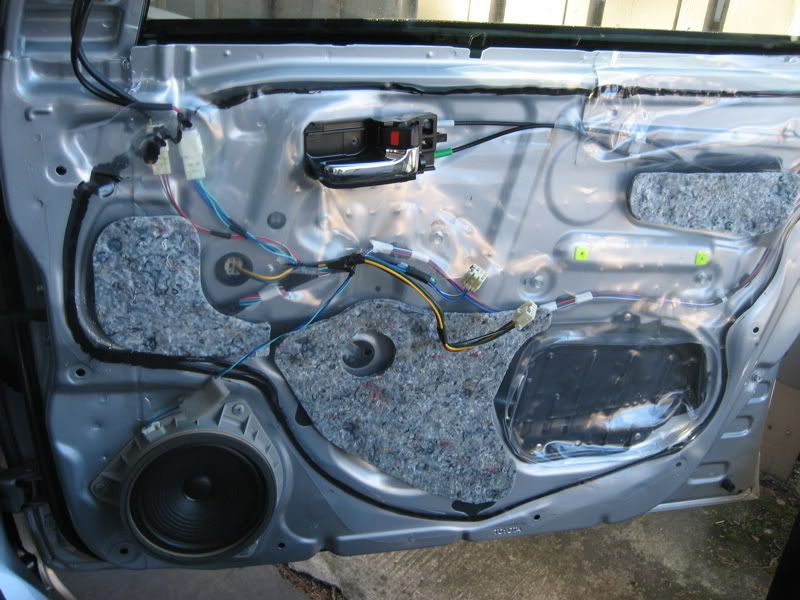
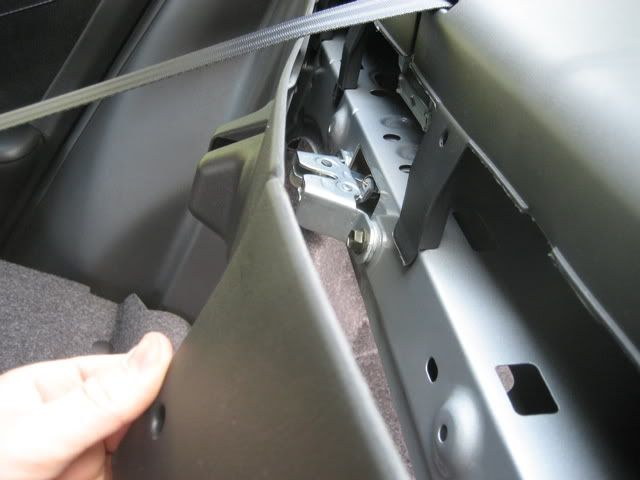
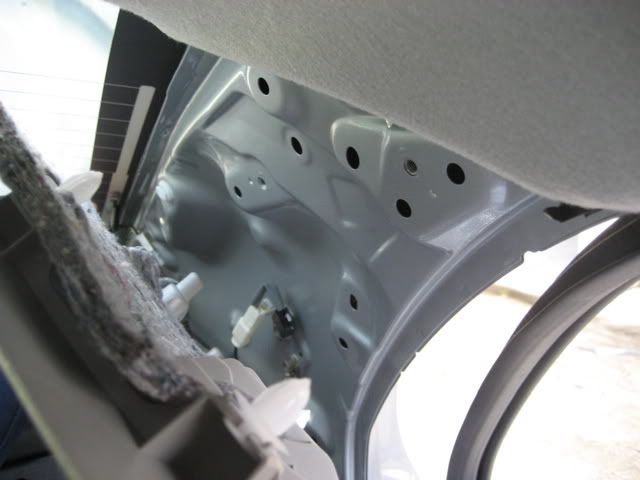
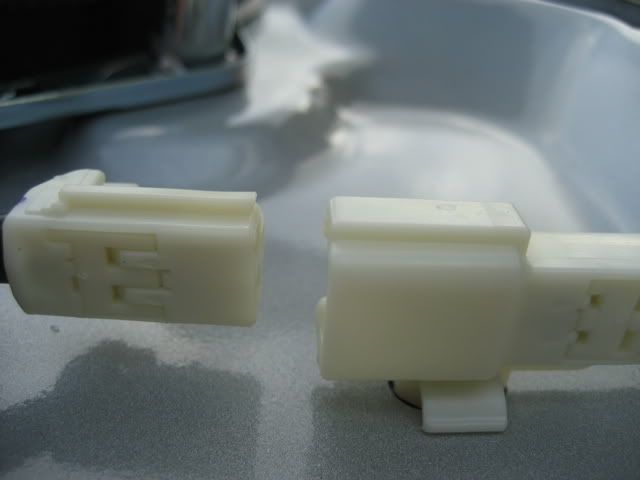
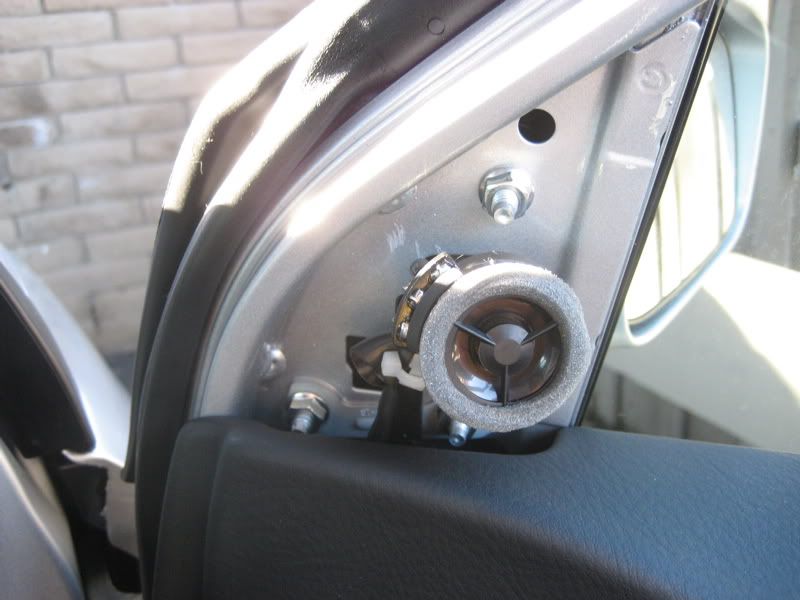
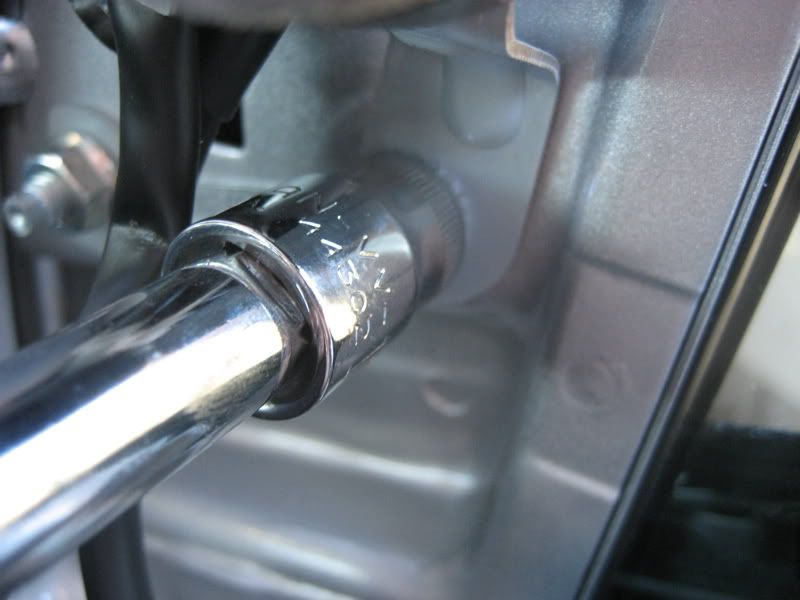
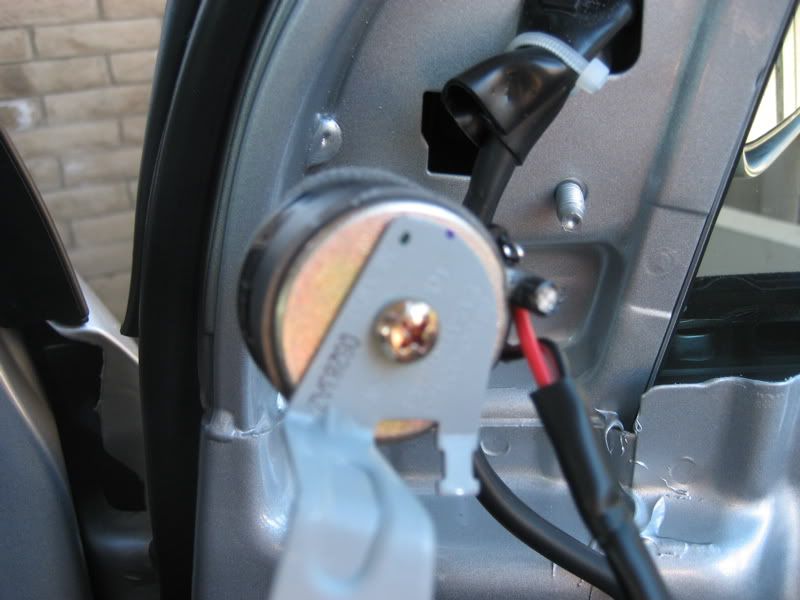
4. You now should have access to both of the components in the font speaker system. Remove the wiring connector for each speaker, and let the wires hang. Use the 10mm wrench to remove the tweeter assembly:
and remove the tweeter by unscrewing the phillips-head screw behind the metal bracket.
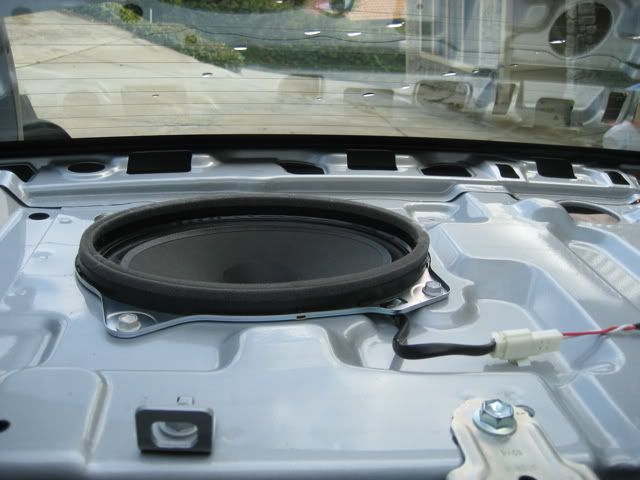
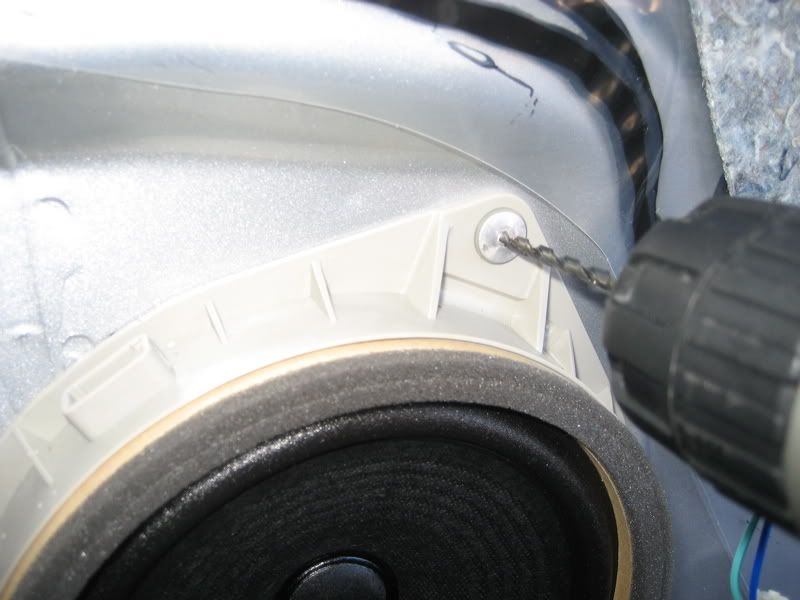
The woofers, however, are a bit more difficult to remove. For this, you will have to develop your own technique. Feel free to destroy the metal rivets connecting the plastic retainer to the door body - presumably, you are going to remove these speakers for good, and will have to drill new holes for the fasteners that come with your new pair.
If it helps, my technique was as follows: Drill out rivets with 1/8" power drill, pry up with flathead, curse a little, pry some more, and finish off with pliers.
Congratulations! Your stock components are gone.
Some notes:
- Toyota does not use a crossover in this system. Install some components with a crossover, and you will experience audio spatialization as you never thought possible.
- When buying speakers, make sure they are actually 7" in diameter. I bought some Polk db6750s that claimed to be 7", but ended up being 6 3/4". Believe me, that extra 1/4" makes all the difference in the world! It wasn't a deal-breaker, but took a little creativity to make them fit.
- The tweeter enclosures are a really tight fit, and don't allow you much room to play. Since there wasn't enough space to mount the real retainers that came with my 6750s, I just reinstalled the metal bracket from Toyota (nothing attached), put my tweeter up against it, and quickly slapped the cover back on. This happens to provide just the right amount of pressure to keep it place without rattling, but only time will tell if this is a permanent solution.
That's all, folks! Enjoy your new rig.
Special thanks to jpaoli's post on CarSpace for helping me through this!